In this guide we’ll explain how you can stain your hardwood floor with just some tools, patience and a decent amount of elbow grease.
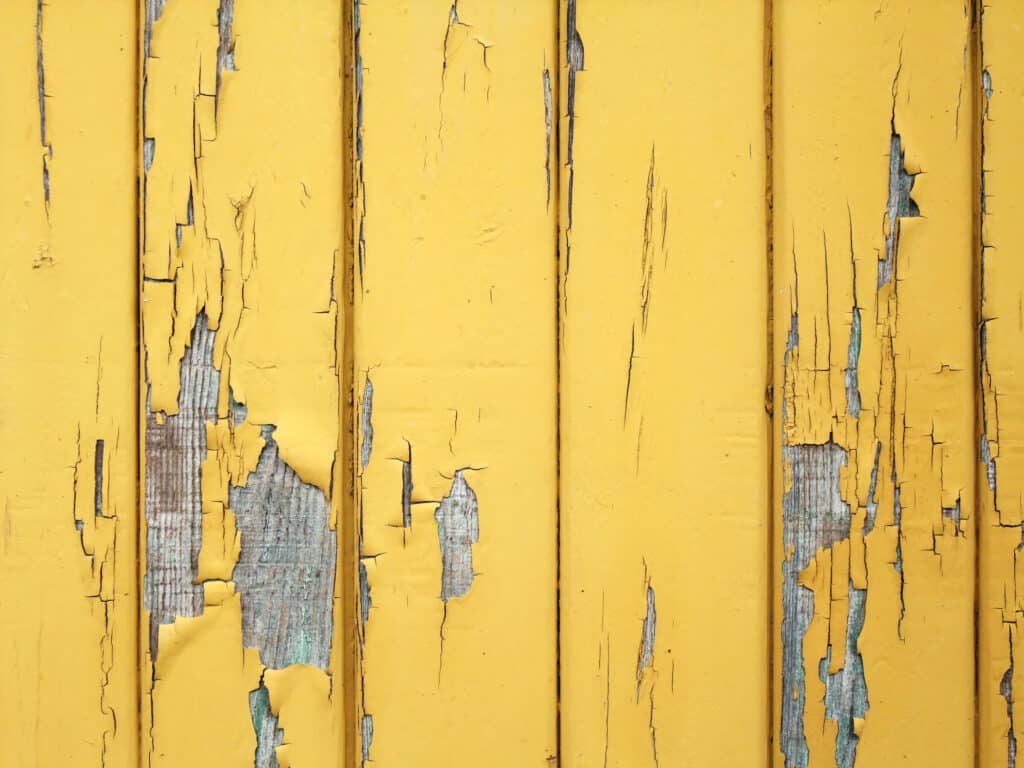
Staining hardwood floors is a great way to give an old floor an updated, fresh look. The actual staining process can be intimidating however, especially if it’s something you haven’t done before. In this post, we’ll provide step-by-step instructions so you can revive your hardwood floors with ease! Get ready to give any room a makeover in no time, so let’s get started!
What You’ll Need:
- Drum sander / Large rotary sander
- Hand sander
- Carbide scraper
- Sandpaper (60 and 100 grit)
- Shop vac (preferably HEPA)
- Mop
- Protective mask
- Eye protection
- Ear protection
- Wood stain (small area)
- Wood stain (large area)
- Applicator brush/foam brush
- 4” China bristle
- Lambswool applicator
- Polyurethane finish
Step 1: Prepare the Floor
The first step in the process involves preparing your floor for the sanding procedure. Begin by clearing the room of any furniture and protect elements like door frames using plastic sheets or tarps as protection. This is very important as sanding generates a significant amount of dust which can easily spread to other areas of your home if you’re not careful. Thoroughly vacuum the entire space to eliminate any lingering dust particles that could potentially hinder the effectiveness of the sanding process.
If you discover any staples or nails that are protruding from the floorboards, utilize a hammer or flathead screwdriver to gently tap them down until they are below the wooden surface. It’s best to also tap down nails that are flush because you’ll remove a thin layer of wood during sanding, hitting those nails with your sander otherwise.
To avoid causing damage to the shoe base molding with the sander, you want to remove it beforehand. If this is not possible, be extra careful while maneuvering the sander near the edges of the molding.
Step 2: Sand the Edges of the Floor
Before applying any stain, it’s important to sand the floor properly. This will ensure that the stain can be applied evenly and that any previous finish is sanded away.
Start by using a hand sander equipped with coarse-grit sandpaper along the edges of the room. This will enable you to effectively reach all the tight corners and edges that are inaccessible to larger drum sanders. An oscillating tool or an electric sander fitted with sanding sheets can also be used for this purpose. The goal is to meticulously sand down any protrusions or remnants of debris present on the surface, while simultaneously stripping away any traces of the old finish. Repeat this process with medium and fine grit sandpaper.
You also want to use a carbide scraper, because even a hand sander can’t reach in the smallest corners. Alternatively you can use a piece of sandpaper and sand it by hand, of course.
Be sure to wear a protective mask, eye protection and hearing protectors while operating power tools.
Step 3: Sand the Floor
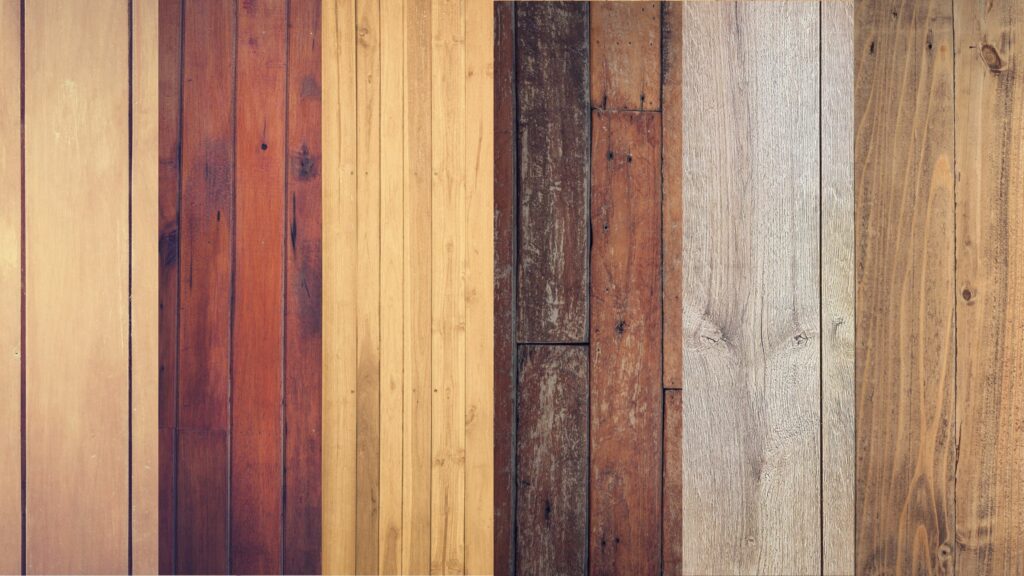
Before you bring out the big guns, make sure that your floor is genuine hardwood, and not engineered hardwood. There is a big difference between hardwood floors. In this case, the thickness of the wood layer decides whether you can use a belt sander or not. If you have engineered hardwood, it is not advised to use this heavy sander as you can easily rub though your thin top layer of wood. If you’re sure it’s genuine hardwood, you can safely continue.
You want to use a belt sander to sand the rest of the floor. It is best to rent as they are really expensive to buy and will likely only be used once. When operating a drum sander, remember to only touch the wood when it’s running at full speed. When starting or stopping, lift the sander off the floor first. If you don’t, you might end up with scratches ruining your finish. Drum sanders are very powerful, so make sure not to sand away too much material. Also be careful not to tilt the sander as this will easily create gouges or dips in your floor. Ask a rental store clerk for instructions on how to operate it safely and remember to wear a protective mask, eye protection and hearing protectors.
Just like when sanding the edges, you want to first utilize coarse grit sandpaper for your drum sander, preferably within the range of 60 to 80 grit. This way you’ll remove any existing finish present on the hardwood surface. Always ensure that the sander is operated in the direction of the wood grain to prevent unwanted damage, and be cautious not to use excessive pressure as it may lead to uneven results.
After the first sanding stage with coarse grit, make sure to thoroughly remove all accumulated dust particles using a vacuum cleaner. It is best to use a shop vac as your regular vacuum cleaner is not designed for this amount of dust. To further ensure cleanliness and prevent potential issues in the following sanding stages, use a slightly damp mop to eliminate any lingering dust residue. This step is crucial as the sandpaper can otherwise clog when you attempt to re-sand the same areas later on.
You want to change your sandpaper belt to a finer grit (approximately 100 – 120 grit) to effectively smooth out any remaining rough areas as a result of the coarse sandpaper. While you’re changing the belt, make sure to check the sander’s dust bags or containers and empty those as well. Follow the safety guidelines specified by the equipment’s manufacturer when changing the belt or dust bag.
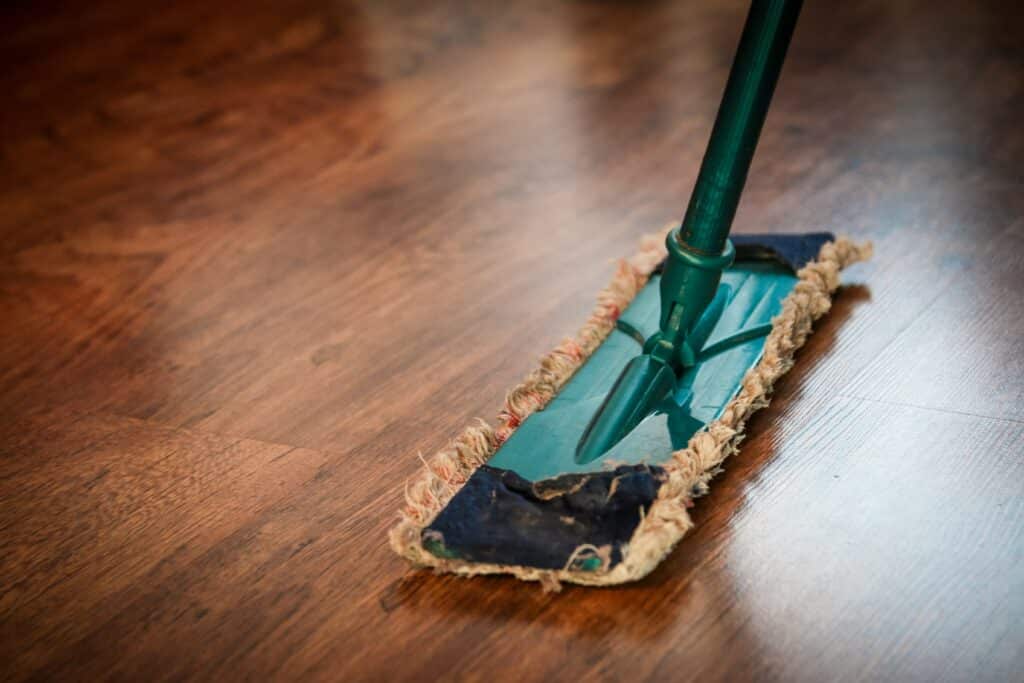
Step 4: Clean the Floor
After you’re done sanding, you want to clean it first. Vacuum the entire floor to eliminate dust and larger debris. Next, use a damp cloth to wipe down the floor so any residual dirt and dust particles are removed. You want to make sure the floor is completely dry before applying any stain, as a damp floor may result in poor adhesion and uneven application of the wood stain. Also, do not use any harsh chemicals, cleaners or solvents directly on the wooden floor as these substances can potentially damage and stain the wood.
Step 5: Apply Your Wood Stain
Now that everything is prepped and ready, it’s time to start staining! If you are unsure whether or not the stain color is the right one, apply the stain on an inconspicuous area on the hardwood floor as a test. Places where you know there will be furniture standing later on are ideal. Let it dry and check if the color is to your liking. If it is, you can apply it to the rest of the floor.
Before you start, make sure you plan ahead. You want to start in the corner opposite the door where you can leave the room. If you don’t, you might end up getting stuck in a corner surrounded by wet wood stain!
Start by pouring some of your wood stain into a tray or bucket and then use either an applicator brush or foam brush to apply it onto your wooden floor in long strokes following its natural grain pattern. Wipe off excess material and move on. Check manufacturer’s instructions for the preferred application method. If needed, go back over the area with a second coat to add color but make sure that you give each coat enough time to dry in between applications. This usually takes about 4 hours, but consult the manufacturer’s guidelines to make sure. Once all coats have been applied, let them sit for 24-72 hours so they can fully cure before moving on to the next step.
Step 6: Add a Finish
We advise you to add an oil-based polyurethane finish after staining to help protect against scratches and scuffs as well as to make cleaning easier in the future. You want to use a 4” china bristle paint brush to work around the edges of the room and in hard to reach spots. Apply about two widths wide following the direction of the grain until everything has been covered evenly. For the larger areas you want to use a lambswool applicator to speed up the process.
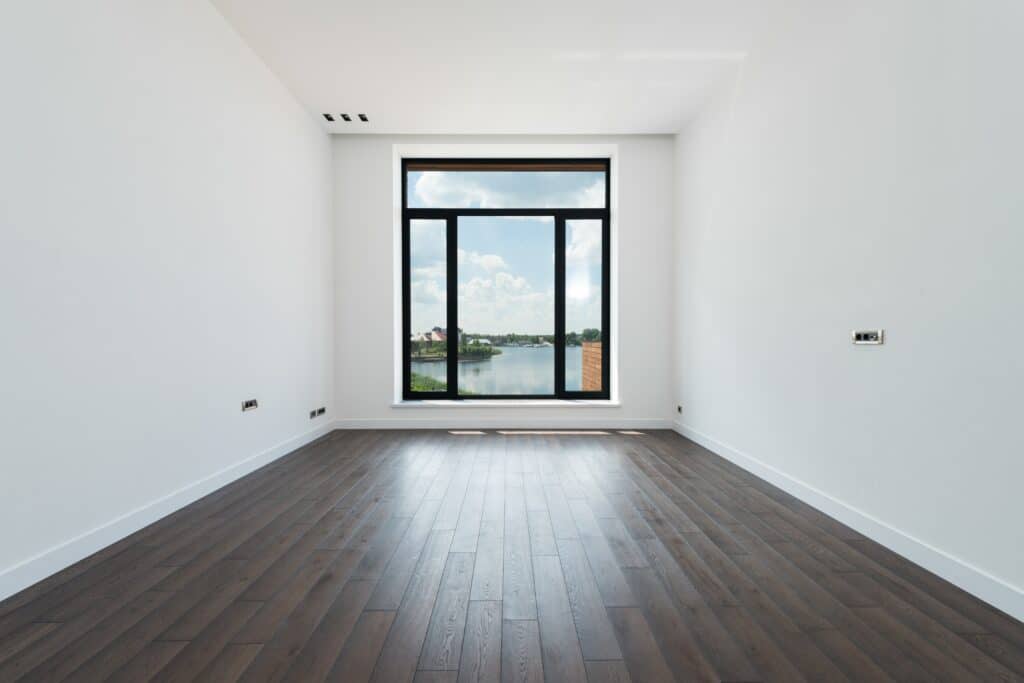
You want to let it dry for a couple of hours before applying a second coat. Once again check the manufacturer’s instructions. Once finished, you can finally enjoy your newly stained hardwood floor in all its glory. But be careful when redecorating, you don’t want to scratch your new floor by dragging heavy furniture around!
Staining hardwood floors can be a daunting task even for seasoned DIY’ers, but with careful preparation and the right technique anyone can achieve amazing results at home without having to call in professional help! Don’t forget about adding either a polyurethane finish after staining, this will help keep your newly stained wood looking fresh for years to come! So gather up all the necessary supplies listed above and get ready for an exciting project, it’s time for some DIY staining action!

Editorial Staff at TwinRight is a team of experts helping its readers with product comparisons and convenient guides. Whether it's choosing the right floor cleaner, updating you on your favorite gadgets or helping you fix those annoying squeaky door hinges, we've got you covered!