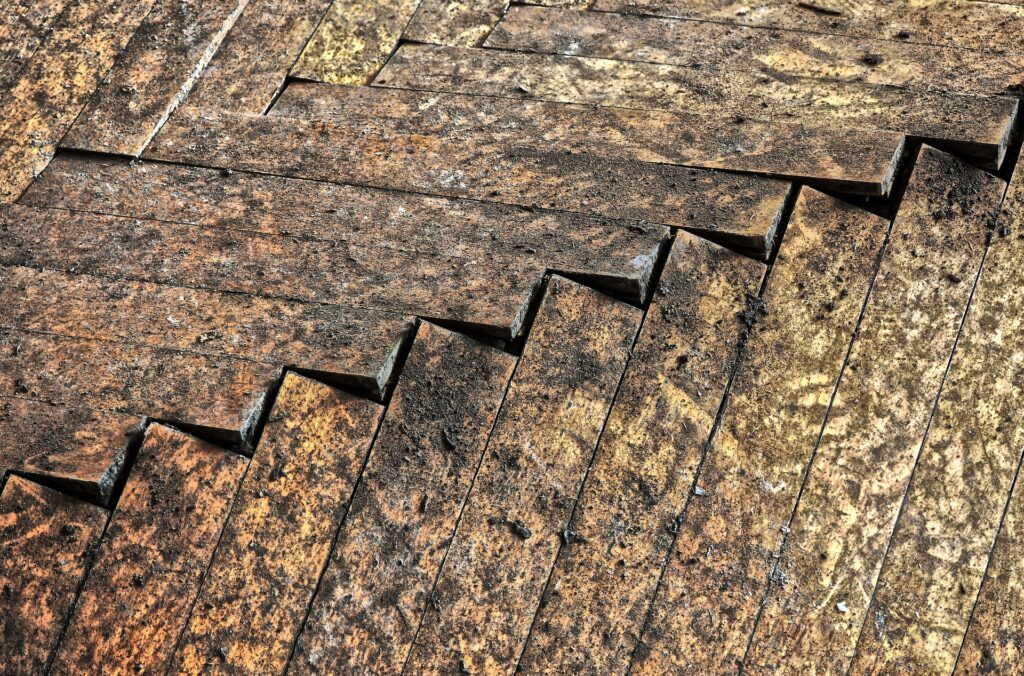
Having buckled hardwood floors can ruin your day. Luckily, we have you covered. In a few simple steps we show you how to repair these buckled floors to make them look like new.
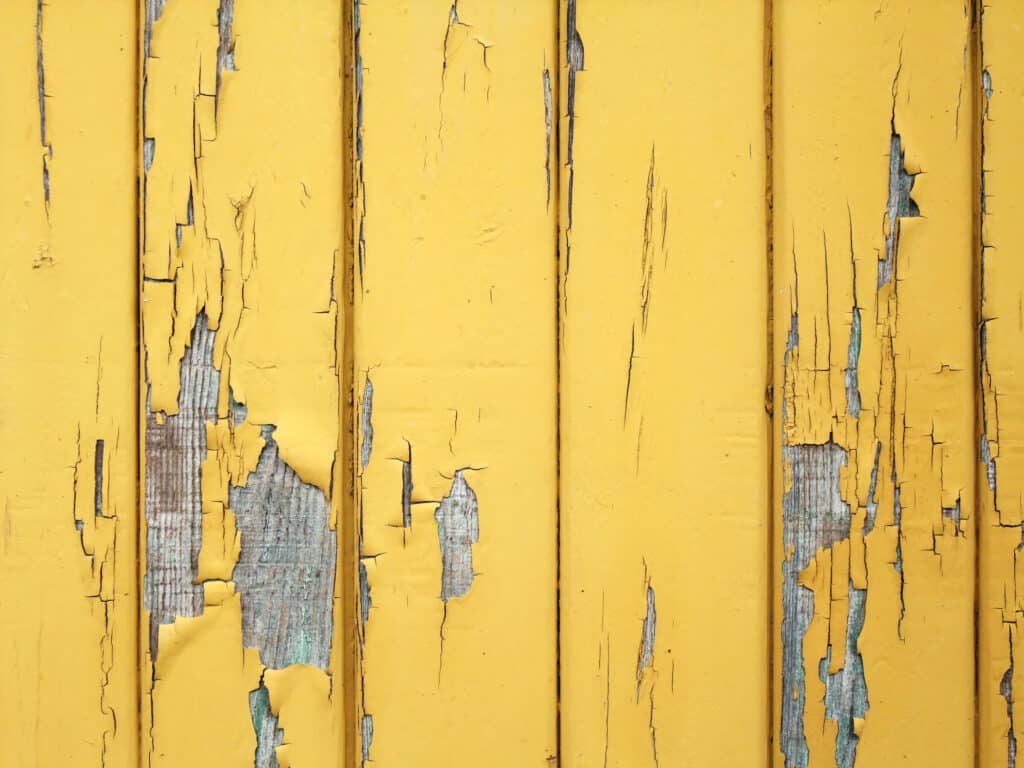
Hardwood floors are popular in many homes due to their durability and timeless charm. However, sometimes they can experience buckling, which is commonly caused by inadequate moisture control or exposure to water. This issue can be a nightmare for homeowners, but the good news is that it’s reparable. We’ll show you step-by-step how to repair a buckled hardwood floor.
Before you get started, make sure you have the necessary tools and equipment. Here is a summarized list of what you will use. Read the steps first to determine what exactly you’ll need to accomplish the job at hand:
- Circular saw
- Pry bar
- Sander
- Fine and coarse grit sandpaper
- Measuring tape
- Chisel
- Hammer
- Replacement flooring
- Finishing nails
- Screws
- Drill with forstner bit
- Hammer drill
- Wood filler
- Sandpaper
- Finishing materials (stain, wood finish, clear coat)
Determining the Extent of the Buckling Damage
The first step is to determine the extent of the buckling damage. If a portion of the floor has become significantly warped, you may need to replace it entirely. If that’s the case, use your circular saw and pry bar to carefully remove the damaged section. Measure this area so you know what size replacement flooring to purchase.
If the buckling is minimal, you can repair it with sanding without having to replace the entire floor. Be sure your floor is solid hardwood and not engineered wood, which you might not be able to sand down.
How to Repair a Hardwood Floor With Minor Buckling
Step 1: Identify Buckled Boards
The first step is to identify the buckled boards. Carefully inspect your floor and look for boards that are raised or warped. Make sure to mark these areas with a pencil so you know where the issue lies.
Step 2: Fix the Moisture Issue
The next step is to determine the cause of the buckling and fix it. Usually, a buckled floor indicates a moisture issue, so check for any signs of water damage or leaking pipes nearby. Make sure to address these issues before you start sanding.
Step 3: Sand the Buckled Areas
Using a hand sander, sand the buckled area of the boards until they are flush with the surrounding floor. Make sure to use a coarse grain sandpaper first and finish with fine grit sandpaper.
Step 4: Clean Up Dust and Debris
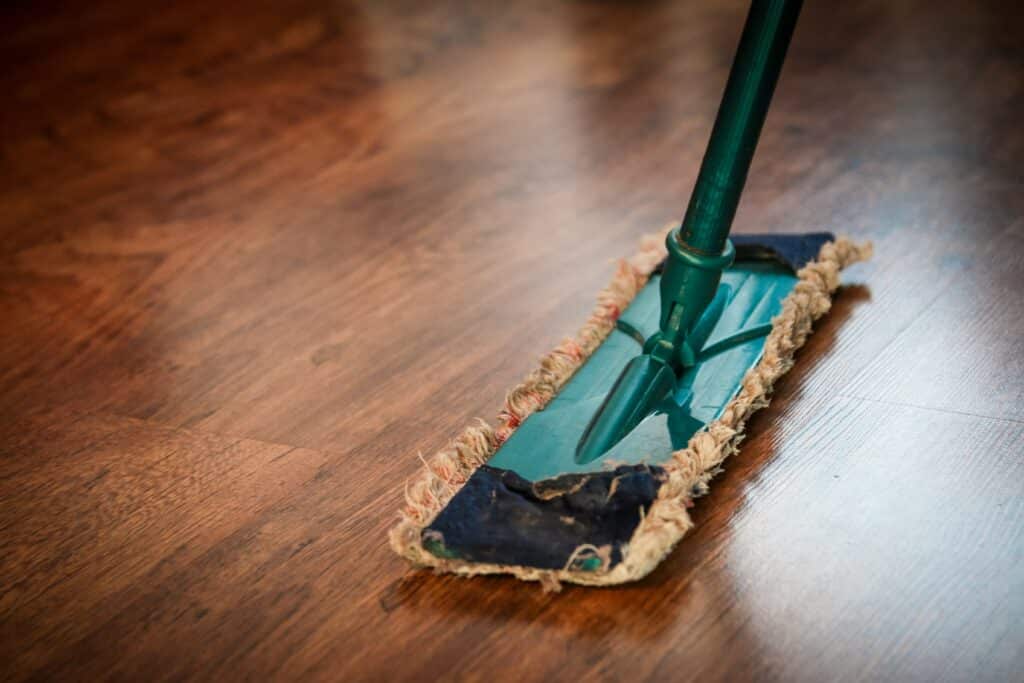
Once you have finished sanding the floor, use a vacuum or broom to clean up any dust or debris.
Step 5: Stain the Sanded Wood
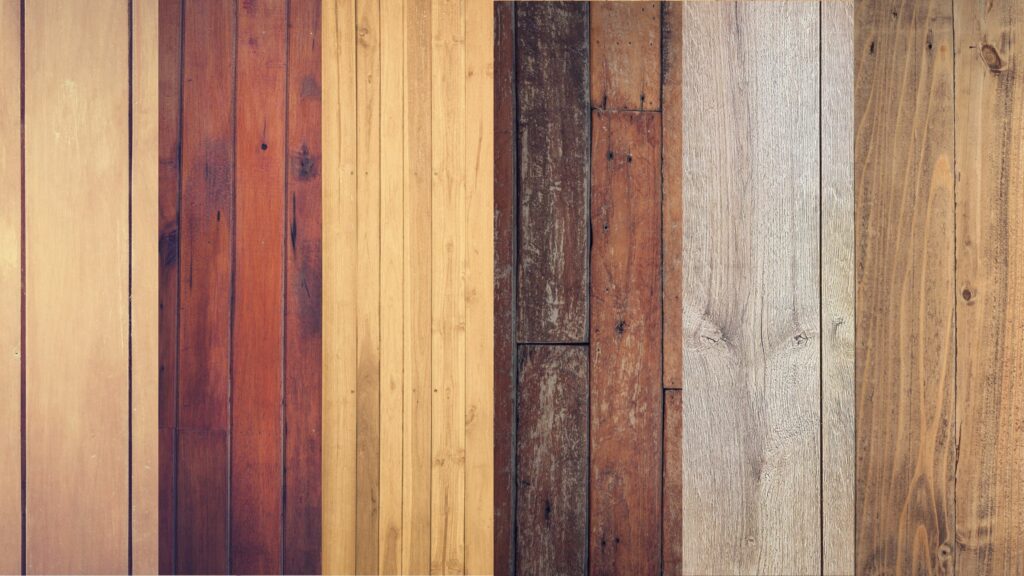
You may want to stain the sanded wood with a matching color to restore its original look. Make sure you evenly apply a coat of stain and let it dry completely. Once the sanded wood matches the color of the surrounding wood your work is done.
How to Repair a Hardwood Floor With Major Buckling
Step 1: Identify Buckled Boards
The first step is to identify which boards are buckled. Look for boards that are higher than the surrounding boards. Press down on the board and listen for a creaking sound. Once you’ve identified the buckled boards, mark them with a chalk or masking tape.
Step 2: Remove the Buckled Boards
Using the circular saw, cut along the center of the buckled board, being careful not to damage the surrounding boards. Pry up the damaged board and remove it. Use the pry bar if necessary.
Step 3: Remove the Damaged Subfloor
Inspect the subfloor underneath the damaged board. If there is any water damage, remove and replace the damaged subfloor. Make sure the subfloor is completely dry before proceeding.
Step 4: Replace the Damaged Boards
Measure the length and width of the opening left by the removed board. If available, use a board that you had left from the floor to minimize possible differences between the new board and the surrounding boards. Cut a replacement board to fit.
When your floor consists of hardwood boards with grooves and tongues, laying the final row isn’t possible without cutting away the lower lip of the groove of the replacement board. This allows the board to fit and let the upper lip of the groove rest on the tongue of the adjacent board.
Step 5: Secure the Replacement Board
If your hardwood boards don’t have tongues and grooves, use finishing nails to secure the replacement board to the surrounding boards. Use the hammer drill to pre-drill holes to avoid splitting the wood. Countersink the nails using a nail set.
When your hardwood boards do have grooves and nails, secure them by tapping the board in place with its groove in the tongue of the adjacent board. Blind nail the boards just above the tongue at a 45° angle to secure the other side of the board. With the final row, you need to tap the board in place to let the tongue fit in the groove. After this, you can either face-nail the groove side of the board or predrill a hole for a screw. With a forstner bit you can make a little hole to sink the screw head. You can cover this hole with a dowel or some wood filler.
Step 6: Fill Gaps and Holes
Using wood filler, fill any gaps and holes between the boards. Allow the filler to dry fully and sand smooth.
Step 7: Finishing Touches
Apply the finishing material of your choice (stain, varnish, or oil) to match the color of the surrounding boards. Allow it to dry fully before walking on it.
Repairing a buckled hardwood floor is a doable task, but it requires patience and care. By following these steps, you can restore your hardwood floor to its former glory. Remember to always take the proper precautions, especially when using power tools. A well-maintained hardwood floor can last for many years and add value to your home.

Editorial Staff at TwinRight is a team of experts helping its readers with product comparisons and convenient guides. Whether it's choosing the right floor cleaner, updating you on your favorite gadgets or helping you fix those annoying squeaky door hinges, we've got you covered!