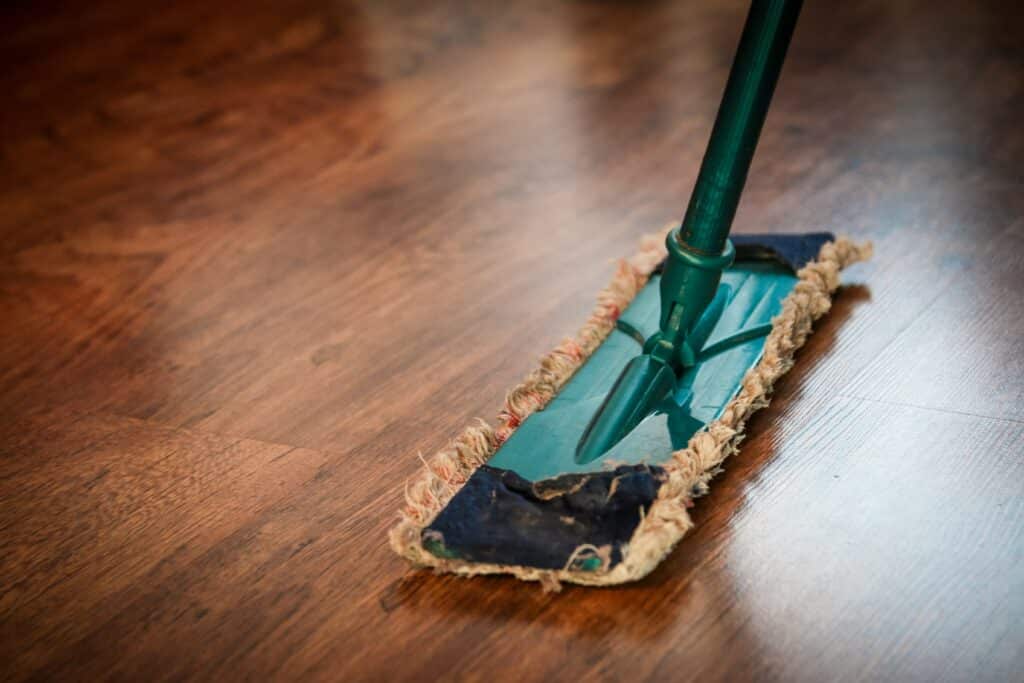
In this guide we’ll show you some easy ways to remove water stains from wood floors with household items. And if these easy tricks don’t succeed, we’ll even show you how to bring out the big guns.
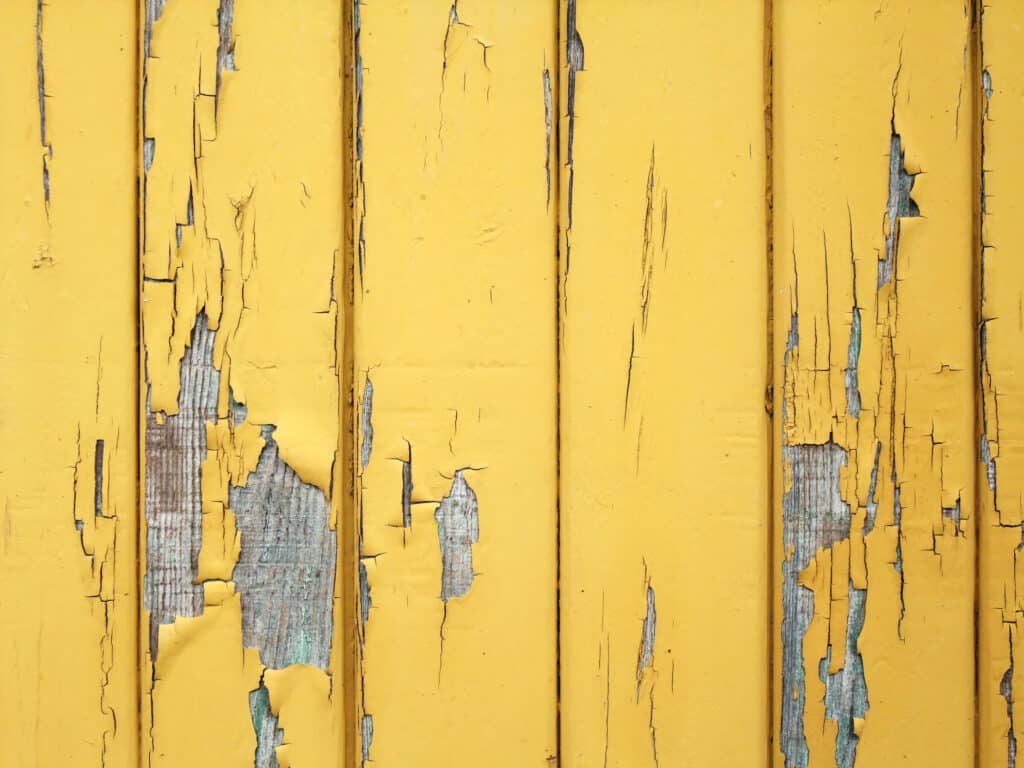
There’s nothing quite like the charm of a wooden floor. It’s timeless, classic, and adds warmth to any room. But even the toughest kinds of wood are prone to water damage. Unsightly water stains can easily develop when you don’t clean up spills immediately.
Thankfully, it’s not too hard to remove those blemishes from your beautiful wooden floors. Don’t let water stains ruin your floors any longer, follow our step-by-step guide and give your home the makeover it deserves.
White vs Black Water Stains
First, you need to determine the type of water stain. White stains are caused by water with mineral deposits in it. These stains will appear as a white haze or film on the wood surface. Moisture hasn’t seeped into the wood for a long period yet. Only the finish or the surface of the wood is affected.
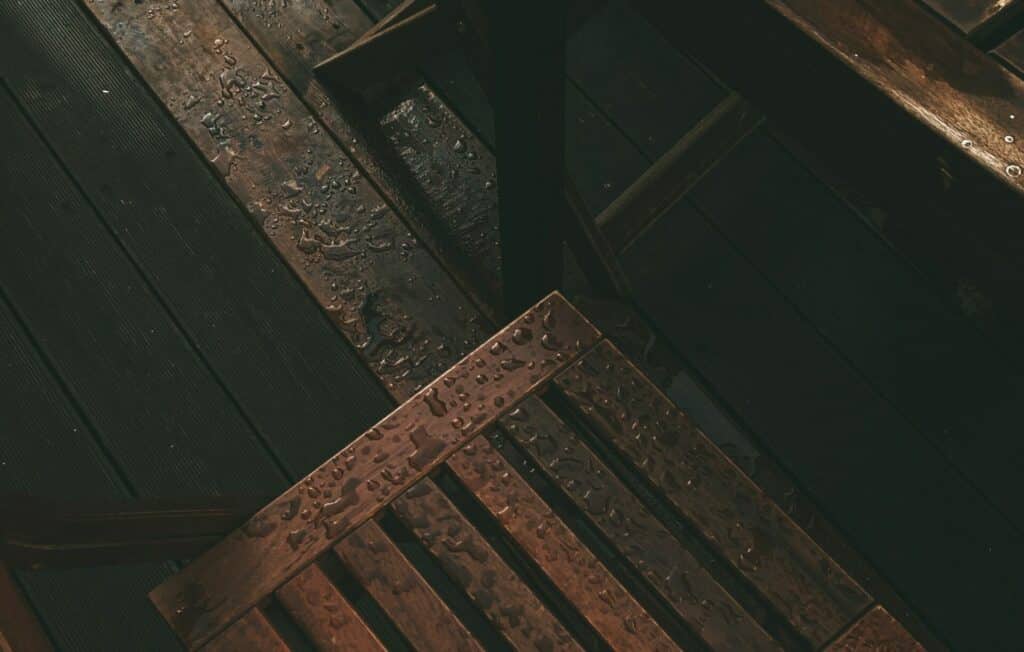
Black water stains can be seen on floors where there has been excess moisture for a longer period. The water seeped deeper into the wood and will appear as dark or black spots on the wood surface. The stains often turned black because of mold formation. They are usually harder to remove than white stains.
How to Remove White Water Stains
Method 1: Heat Gun or Hair Dryer
Products and Tools Needed:
- Heat gun or hair dryer
Step 1: Heat the Water Stain
A heat gun or hair dryer can be used to heat very recent water stains that are still wet. The heat and constant flow of air will make the water evaporate quickly. Make sure to keep the device moving and avoid staying in one spot for too long to avoid damage. Be careful you don’t use too much heat as this can cause the wood to warp. However, this method is surprisingly easy to apply and works very well to make most white water stains disappear.
Method 2: Vinegar
Products and Tools Needed:
- White vinegar
- Soft cloths/rags
- White toothpaste (optional)
- Baking soda (optional)
- Soft-bristled scrub brush (optional)
Step 1: Blot Up Any Excess Moisture
The first thing you need to do is make sure that all the superficial moisture is removed. Use paper towels or rags to absorb as much of the liquid as possible. Make sure that you don’t rub the stain itself because this will only spread it around and make it tougher to remove later on.
Step 2: Wipe Away The Stain
Once you’ve taken care of the excess liquid, put some vinegar in a bowl or bucket. Dip your soft cloth into it and wring out any excess solution.
Gently wipe down the stained area using circular strokes and light pressure until it disappears completely.
If necessary, use a soft-bristled scrub brush instead of cloth to get rid of tougher spots. Be careful not to scrub too hard or you might damage your floor’s finish!
Step 3: Rinse And Dry
After removing all traces of the stain, dry it with soft cloth or rags. Make sure that there are no streaks left behind before moving on to another stain
How to Remove Black Water Stains
Products and Tools Needed:
- Hydrogen peroxide (3%)
- Soft cloths/rags
- Steel wool (optional)
- Sander (optional)
- Fine and coarse grit sandpaper (optional)
- Wood Stain (optional)
Step 1: Blot Up Any Excess Moisture
The first step is to blot up any excess moisture in the area with paper towels or soft rags. Make sure that you don’t rub the stain because this will only spread it around and make it tougher to remove later on.
Step 2: Use Hydrogen Peroxide
Put a cloth over the stain and pour some hydrogen peroxide over it so it is wet but doesn’t spread to other parts of the floor. Let it sit on the stain for at least a couple of hours or even a full day, making sure that the cloth remains wet so it can soak in the wood.
Remove the cloth and let it dry out completely. You can add a fan to speed up the process but don’t apply direct heat to your hardwood floors as this may result in warping or cracking of the wood.
If the stain has started to fade after drying, repeat the process as many times as needed. This can easily take multiple days to get it all out, but you will have a stainless floor in the end!
Step 3: Asses the Result
Now there are 3 possible outcomes:
The first one is that the water stain has disappeared completely and there is no visible discoloration of the wood floor. Congratulations, job done!
The second possibility is that even after multiple attempts of the previous process, the stain is still visible. In this case it is time to bring out the big guns, so go to step 4.
The third possible outcome is that the hydrogen peroxide removed the stain, but also made the floor lighter than the surrounding area. In this case you”ll have to stain the wood again to make it blend in with the surrounding floor.
Before you jump to step 5, you want to lightly sand the surface to prep the area for optimal staining as wood stain will highlight any scratches that might be present. Vacuum the dust after sanding and wipe clean with mineral spirits. There’s no need to bring out the big guns so you can skip step 4.
Step 4: Sand the Stain
If the stubborn stain is still visible even after applying hydrogen peroxide, it is advisable to use a sander. Start with fine grit sandpaper on the affected area. Use a coarse grit sandpaper if necessary. Continue this process until the stain is gone. Finish sanding with a fine grit sandpaper to level the surface and create a smooth surface for staining. Use a vacuum cleaner to remove all the dust and clean with a damp cloth.
Step 5: Stain the Area
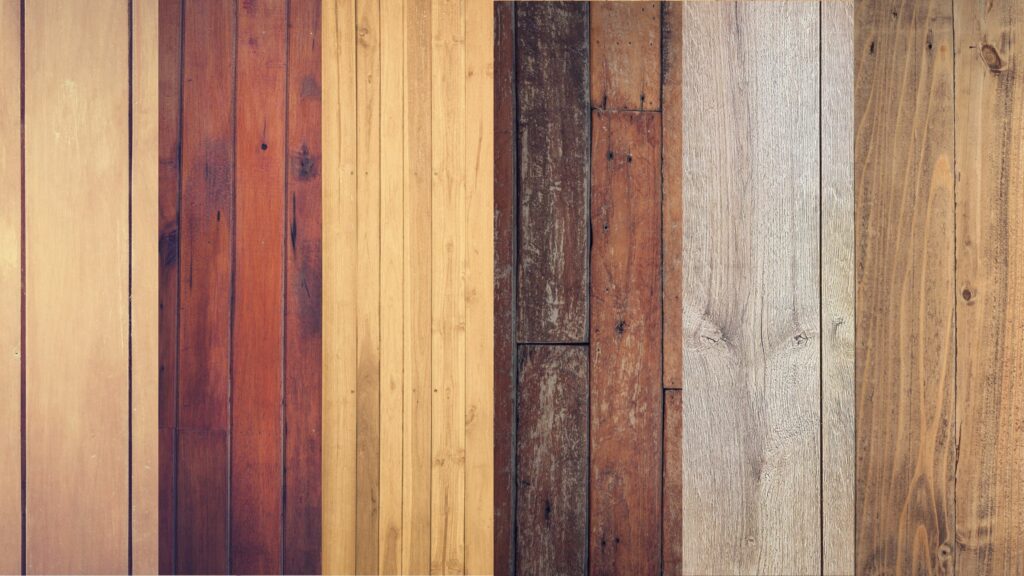
To make the sanded part match the surrounding area of your hardwood floor, it is crucial to choose a wood stain product or wood stain pen that matches the current color of your floor. Alternatively, you can opt for a whole new finish if you’re in for a change.
Before fully applying the stain or pen, do a color test on a small section of the floor to determine if the result fits the rest of the floor. You want to apply it to a rag and use this to gradually add wood stain to your floor. Remember, you can always add wood stain product to darken the color but it’s very difficult to make it lighter! Once you have applied the right product and color, be sure to let the hardwood floor dry before walking on it.
Removing water stains from wood flooring can seem like a daunting task but with these easy tips and techniques, you’re ready to remove those ugly water stains and restore your wood floor to its former beauty.

Editorial Staff at TwinRight is a team of experts helping its readers with product comparisons and convenient guides. Whether it's choosing the right floor cleaner, updating you on your favorite gadgets or helping you fix those annoying squeaky door hinges, we've got you covered!