Want to start your DIY flooring journey by removing the old hardwood flooring but don’t know how? You’ve come to the right place! In this guide we’ll show you exactly how to remove your old hardwood flooring, whether you want to reuse it or throw it away.
If you’ve decided to remove your hardwood flooring and replace it with something new, then this guide is for you. Removing hardwood flooring isn’t the easiest task, but it certainly isn’t impossible. With the right tools, products and some elbow grease you can remove your old hardwood floors in no time.
Products & Tools Needed
- Utility knife
- Pry bar
- Painter’s tool
- Trim puller
- Hammer
- Pliers
- Circular saw (optional)
- Drill / screwdriver
- Vacuum cleaner or shop vacuum
- Protective eyewear and gloves
Step 1: Remove Shoe Moldings and Baseboards
First you have to remove the shoe moldings from the baseboards. Use a utility knife to score the seams between the shoe molding and the baseboard. This will make sure your paint doesn’t tear upwards when prying the shoe molding loose. Gently work a painter’s tool in there and pry it open. Once it is loosening, you can insert a trim puller or flat breaker bar to easily pull it off.
Be careful not to bend the shoe molding too much if you want to reuse it, because it might break. When planning on reusing the shoe moldings and baseboards, it’s best to write a number on the molding, the corresponding baseboard and on the wall behind the baseboard so you know where to install them again.
When loose, pull out all the nails with some pliers or the backside of a hammer. If you put it away with nails still sticking out you might hurt yourself when carelessly picking it up later. Not all nails will come out with the shoe molding, so pull out the remaining ones from the baseboards.
You want to apply the same steps to remove the baseboards. Score the seams of the baseboards to cut through any paint, caulk or drywall paper that might be attached to it. Again, use a painter’s tool, flat pry bar or a trim puller to carefully remove the baseboards. If necessary, gently tap your tool with a hammer behind the baseboards and pull it loose every 8″ to 10″. Don’t forget to remove any nails that didn’t come out when removing the baseboards.
Step 2: Cut the Floorboards (Optional)
If you want to reuse the hardwood, you can skip this step.
If you’re replacing your hardwood flooring with new planks or a different type of material, you want to cut the planks into smaller sections for easier removal. Use a circular saw to cut the floor in sections about a foot wide. It is advised to use a circular saw that collects dust as this will reduce the amount of sawdust you need to clean up afterwards. Cut perpendicular to the boards so you avoid sawing through nails as much as possible. Check how thick your planks are and adjust your circular saw to the appropriate length so you don’t cut through your wood subfloor.
Next, use a pry bar to get under the boards and pry the boards up until they come loose. Because you’re not reusing your planks, there’s no need to worry about damaging the boards. If your boards or tongues break off or get damaged, no harm done. Just
Step 3: Remove Floorboards
Next up is removing the floorboards. The easiest way to do this is to pry up the tongue side of the hardwood boards because this is the side the planks are nailed into. You will be able to pull out the nail this way. If you pry up the groove side you have a high chance of breaking off the tongue of the plank.
Don’t know which side of the wall to begin with? Feel the edge of the planks on both sides of the floor. If you feel a groove pointing at the wall, you want to start at the other side. This is because you always start laying a floor groove side to the wall, and work your way to the other side. The final board at the other side will either have a tongue or flat edge because it was sawn to size. When in doubt, very carefully pry the final board loose at the side you think is tongue-side, and inspect the following board. This should have a tongue facing the wall.
Once you’ve established what side to begin with, start in a corner of that wall and carefully insert a pry bar underneath one of the boards and gently pry up until the nail starts giving in. Be careful not to break or crack any boards as you do this. It’s best to pry up a board in a lot of small steps, moving along the length of the board and gently lifting it up further as you go. You can always add more force if necessary but once you break off the tongue you will need to replace that board. Once released, gently remove the boards one at a time until they are all removed from the floor surface.
If you are planning to lay the boards down again in the same room, you want to number them so you can put them back in the right order without having to cut any boards.
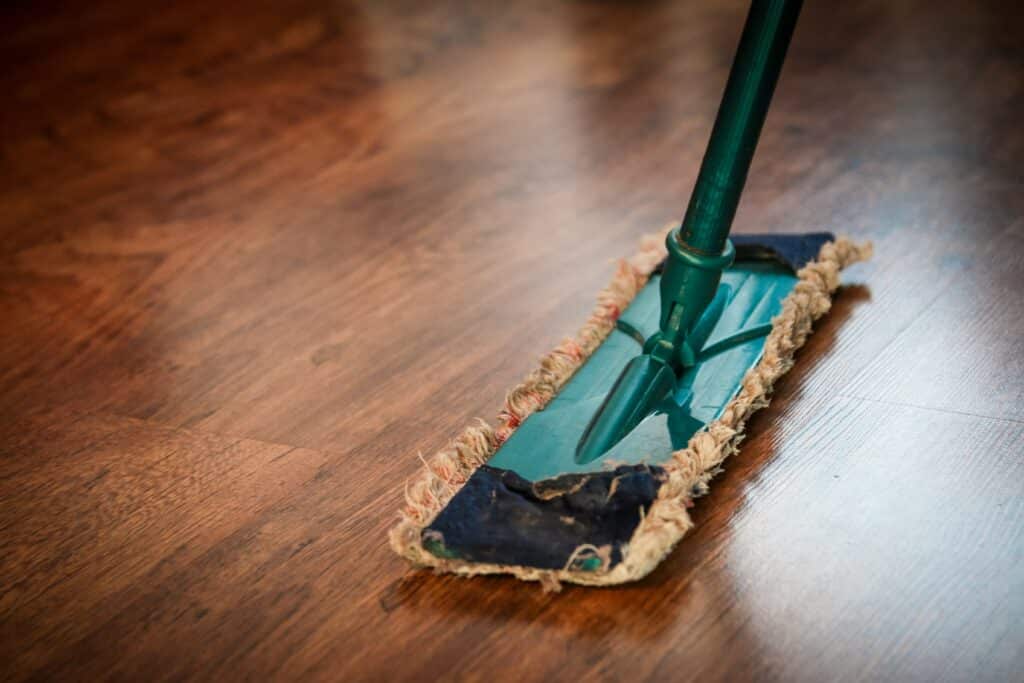
Step 4: Clean Up the Floor Surface
Once you‘ve removed all the hardwood boards, you have to clean the subfloor. You want to be careful when sweeping the floor as there might be loose nails or staples lying around. Try to remove them and other larger debris first before you vacuum the rest with a shop vac.
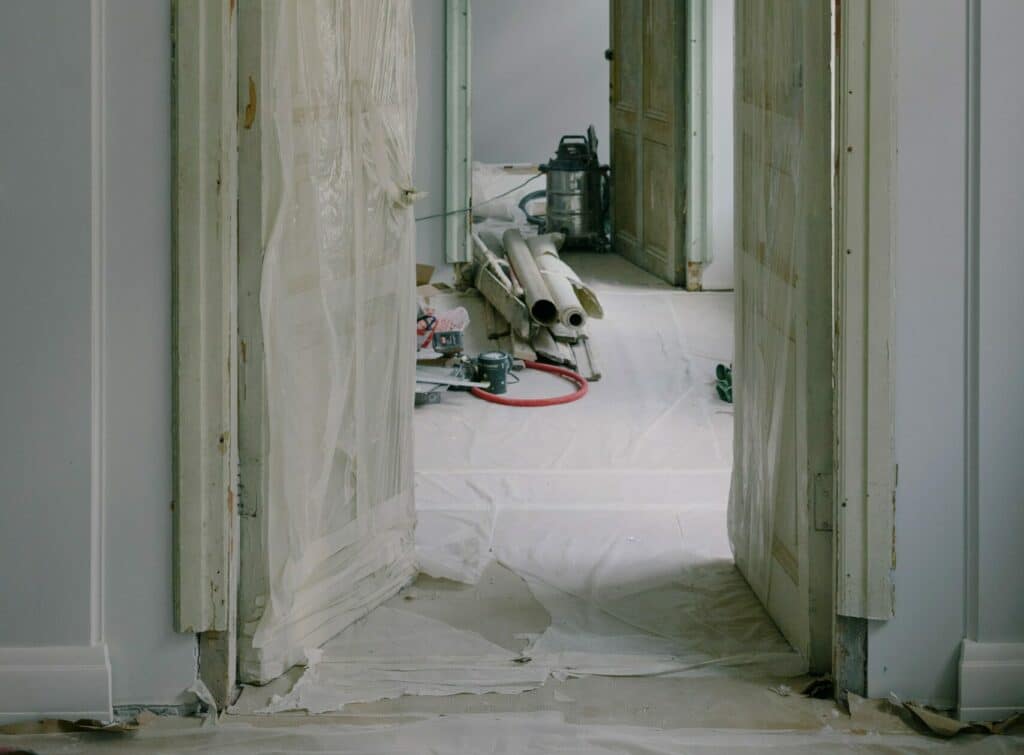
Step 5: Install New Flooring Material
Now that your old hardwood floor has successfully been removed and your subfloor has been cleaned, you can install your new flooring material. Rember, always follow your manufacturer’s instructions. For some types of flooring, you might have to lay down underlayment before you can start installing new planks or tiles. It all depends on what type of material you’ve chosen to remodel the room. If you have saved your planks you can even install your hardwood floor again like before, saving money on materials!
Removing hardwood flooring can be challenging and time-consuming, but if done correctly it can also be incredibly rewarding. By following these steps you’ll have all the knowledge necessary to successfully remove that old hardwood floor without too much difficulty.
We hope our guide helped you with your renovating project!

Editorial Staff at TwinRight is a team of experts helping its readers with product comparisons and convenient guides. Whether it's choosing the right floor cleaner, updating you on your favorite gadgets or helping you fix those annoying squeaky door hinges, we've got you covered!