In this guide we’ll show you how to refinish your hardwood floors and give them a second life. You’ll be able to restore them to their former glory in no time!
Hardwood floors can be a beautiful addition to any home, but they need regular maintenance and occasional repair. Refinishing your hardwood floors can preserve their life and keep them looking like new for years to come. In this comprehensive guide, we will provide you with all the steps you have to take to refinish hardwood floors. We’ll show you also all the tools and products you’ll need to complete the job. Let’s get started!
When should you refinish your hardwood floor?
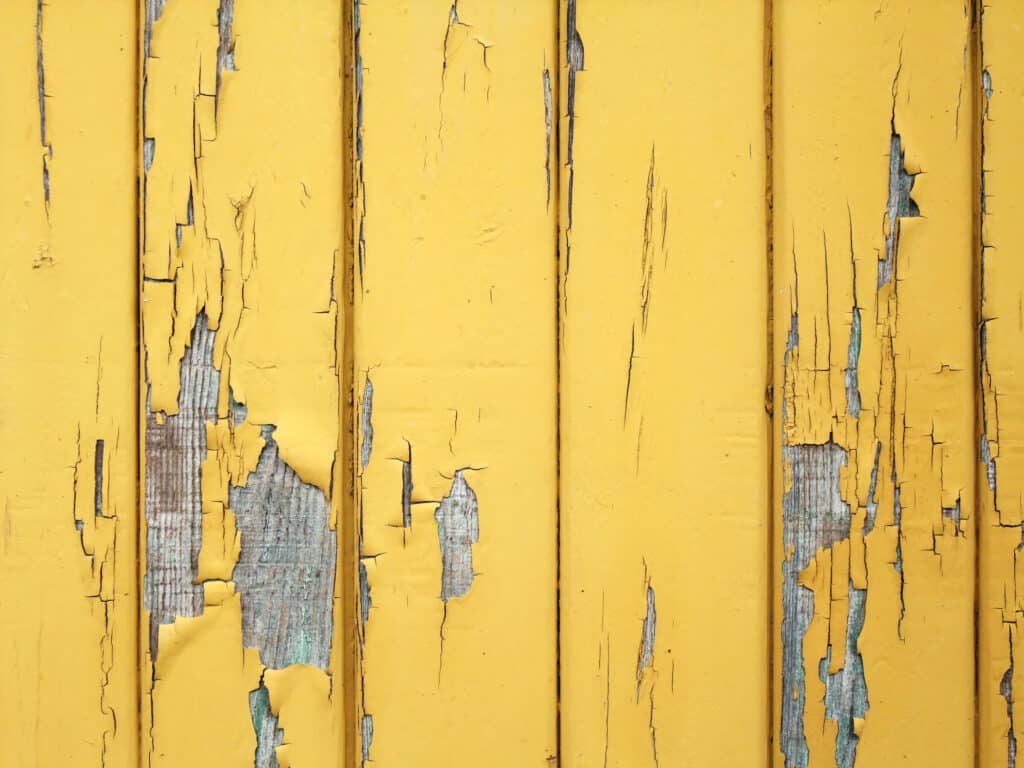
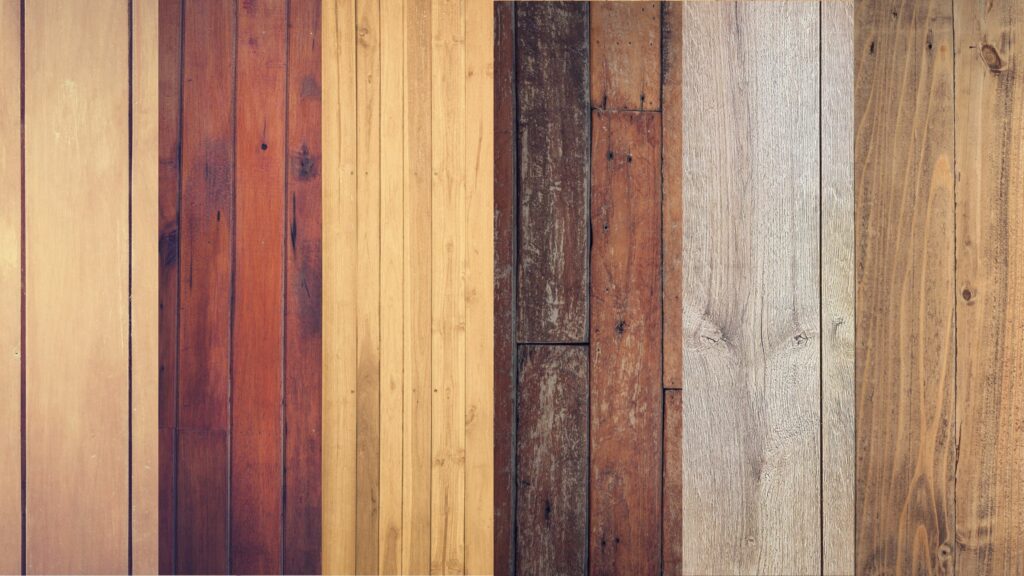
When your hardwood floor is heavily scratched, worn or discolored, you might consider refinishing it. It’s also the way to go if you want to give your floor an updated look or change its overall appearance.
Make sure your floor is actually solid hardwood and not a lookalike like laminate. You can’t refinish laminate so once it is damaged you’ll need to replace it. Engineered hardwood is another possibility. It’s made from actual wood on top of synthetic material. Therefore you can’t sand engineered hardwood more than 1-2 times, depending on the thickness of the top wood layer. Solid hardwood on the other hand can be refinished and sanded multiple times.
First assess the state of your floor. If you have a water damaged floor, you first want to fix this. If this isn’t the case, you need to further inspect the floorboards. If there is too much buckling or warped boards, it’s not possible to sand and refinish the floor anymore. The height difference between the floorboards will make sanding with an orbital sander or a drum sander too difficult because you have to remove too much material to make it even again. On top of that, if you apply the finish without evening out the floor, it will flow to the lower parts of your floor and pile up there, making the coloring very uneven. When you’re faced with this problem, you might want to consider replacing the floor entirely.
How to Refinish Hardwood Floors
Products and Tools Needed:
- Drum sander / Large rotary sander
- Sandpaper (80, 120, 220 grit)
- Hand sander
- Protective mask
- Tack cloths
- Wood stain (optional)
- Wood finish
- Paintbrush
- T-bar applicator
Step 1: Prepare Your Floor?
The first step is to prepare your hardwood floor for sanding. Start by removing any furniture from the room. Cover doorways with plastic sheets or tarps. This is important because during the sanding process there will be a lot of dust that you’ll want to avoid getting to other rooms.
Vacuum the entire area thoroughly to remove any dust or dirt particles that could interfere with the sanding process.
If any staples or nails are protruding from the floorboards, use a hammer or flathead screwdriver to gently tap them down until they are below the wood surface.
Remove the shoe base molding to prevent damaging it with the sander. If this is not an option, be extra careful around the edges of the room with the sander.
Step 2: Sand the Edges and Corners
Now that your hardwood floor is prepped, it’s time to start sanding. Start by using a hand sander with coarse grit sandpaper to get into all tight corners and edges of the room where the bigger drum sander can’t reach. You can also use an oscillating tool or electric sander with sanding sheets for this job. The goal is to make sure you sand down any bumps and to remove the old finish.
Step 3: Sand Your Floors
Now it’s time to sand the rest of the floor. Begin by using a coarse grit sandpaper (around 60 – 80 grit) for your drum sander to remove any existing finish from your hardwood floors. Make sure you move the sander in the same direction as the wood grain at all times. Avoid applying too much pressure while sanding your floors.
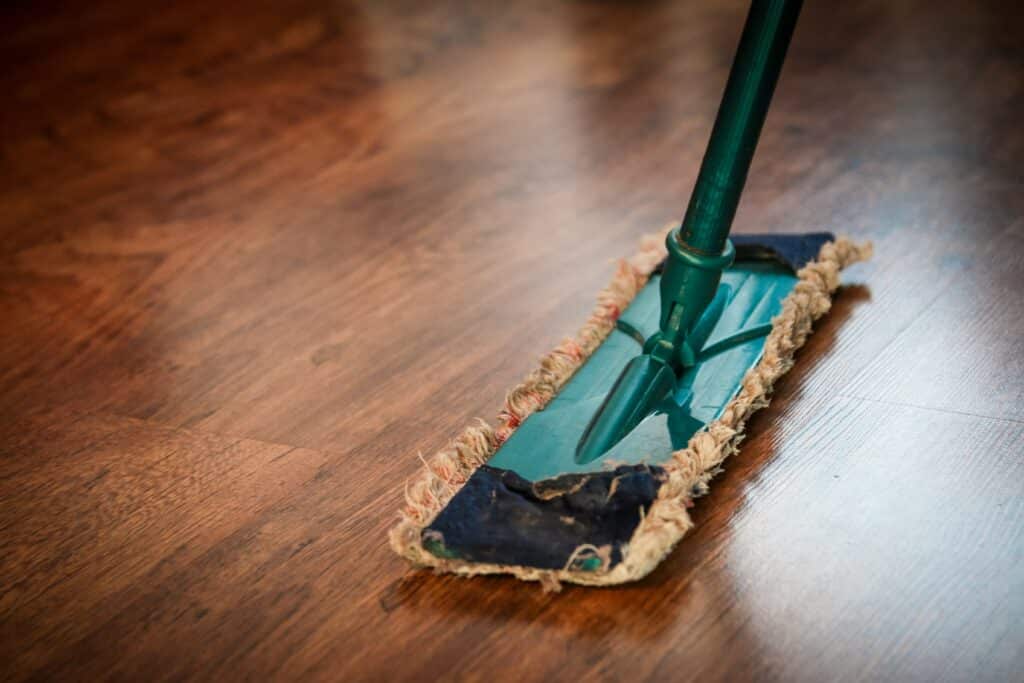
When you are done, vacuum all the dust and clean up the remaining dust with a moist mop. If you don’t, the sandpaper will clog up when you sand these dusty areas again.
After you have completed this step, switch out your sandpaper for a finer grit (around 100 – 120 grit). This will smooth out any rough patches that might still be present on your floor after using coarser paper initially.
When you change the sandpaper, it’s a good time to empty the sander’s dust bags or container. Make sure you do this correctly following the manufacturer’s safety guidelines.
After sanding, vacuum out all the dust and clean up the remaining dust with a moist mop before moving to the next step.
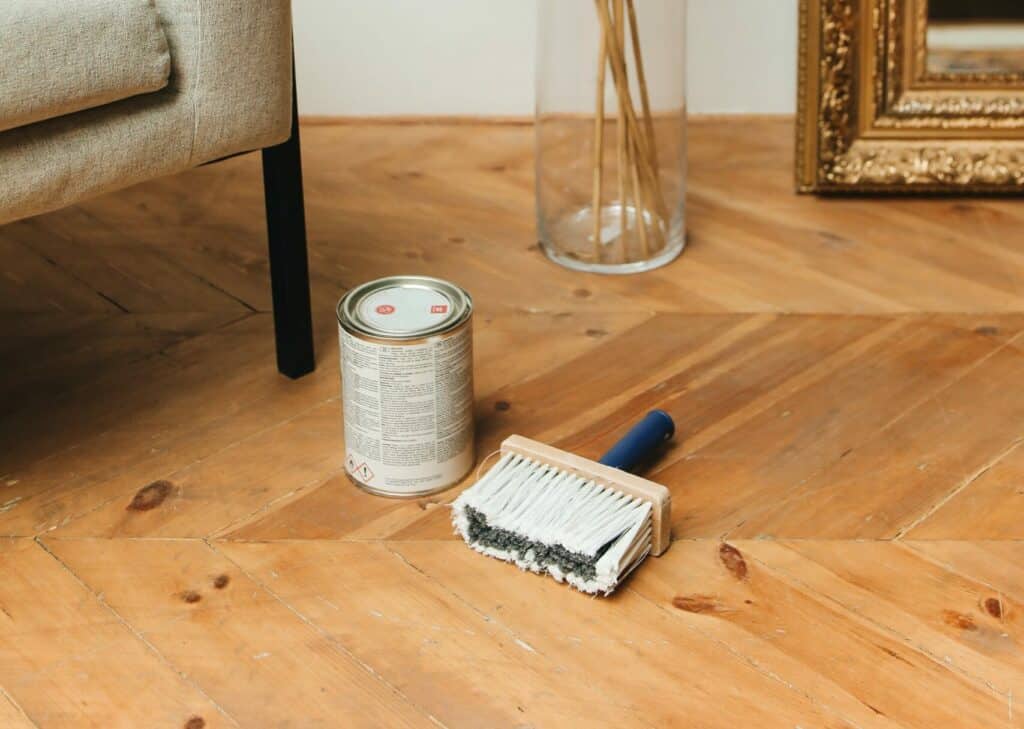
Step 4: Apply Wood Stain (optional)
Should you like to stain your hardwood floor or even change the color of it, this is the moment to do so. Applying wood stain after sanding enables you to give your hardwood floor the desired color tone.
When staining, make sure to apply an even coat using either a paintbrush or roller depending on what product or look you are aiming for. Consult the manufacturer’s instructions if you are unsure about the best application method for the specific product you have. Let the wood stain completely dry before applying a finish.
Step 5: Apply Wood Finish To Your Floors
Once you have sanded or stained the hardwood floor, it is time to apply the wood finish.
When you apply the finish, make sure to spread it evenly in a thin layer across the floor. You can use a paint brush to apply it, but this is a rather slow method if you have to cover large areas. In this case, it is best to choose a finish that doesn’t dry too fast. Otherwise, you can’t evenly spread the wood finish before it starts to dry.
You could also first use a paint brush to apply it close to the wall, and finish by using a T-bar applicator on the large, open areas. This tool makes the job a lot easier and faster once you’ve got the hang of it. It will also help to prevent turn marks and uneven sheen levels in the floor. Just pour some finish on the ground in the farest corner from your exit door and start spreading it out with the T-bar. work your way to your exit door. Once there isn’t enough finish left, pour some more.
Allow adequate dry time, check the manufacturer’s instructions. It is advisable to use 2-3 layers of finish, as the wood will absorb some of the finish and leave uneven spots at first.
Lightly sand the floor between each layer of finish. Use very fine grit sandpaper (around 220) to gently buff the floor. Wipe away the dust with a damp cloth and let it dry before applying a new layer of finish.
Step 6: Finishing Touches
Finally, once the floor finish has completely dried according to the manufacturer’s instructions, it is now time for the finishing touches! Check the entire floor for uneven finish layers. If there are still uneven patches, add another layer of finish. Once everything is done, reinstall the shoe molding if you removed them.
Refinishing hardwood floors can be a rewarding experience if done correctly. However, it does require patience and the right technique to achieve professional results.
We hope this guide provided you with necessary help to get great results without having to call in a professional!
Remember to always consult and follow manufacturers instructions for the products & tools. This ensures the best possible outcome whilst staying safe at the same time.

Editorial Staff at TwinRight is a team of experts helping its readers with product comparisons and convenient guides. Whether it's choosing the right floor cleaner, updating you on your favorite gadgets or helping you fix those annoying squeaky door hinges, we've got you covered!