In this guide, we’ll walk you through the simple process of removing scratches from hardwood floors.
Hardwood floors are beautiful, but over time scratches are inevitable. Luckily, you can always restore your floor to its former glory. We’ll show you how.
In this step-by-step guide we’ll help you determine what to do and how to get that hardwood floor back in shape in no time!
Determine the Severity of the Scratch
To determine how deep the scratch is, use your fingernail to feel along its length and width. If it catches in the groove of the scratch, it is likely a deep one.
Deep scratches need to be filled with wood filler first. To make the scratch blend into the surrounding floor, a matching color can be used. Although the repaired scratch will be a great aesthetic improvement and will barely be noticeable, it will still have a slightly different structure than the surrounding floor. That’s inevitable.
Light scratches on the other hand, are superficial and typically don’t leave an impression on the hardwood surface. Such scratches are often caused by everyday wear such as light furniture sliding marks and pet-related paw scratches. For these light scratches, it is often sufficient to make the scratch blend into the surrounding floor with a matching color.
Light Scratches
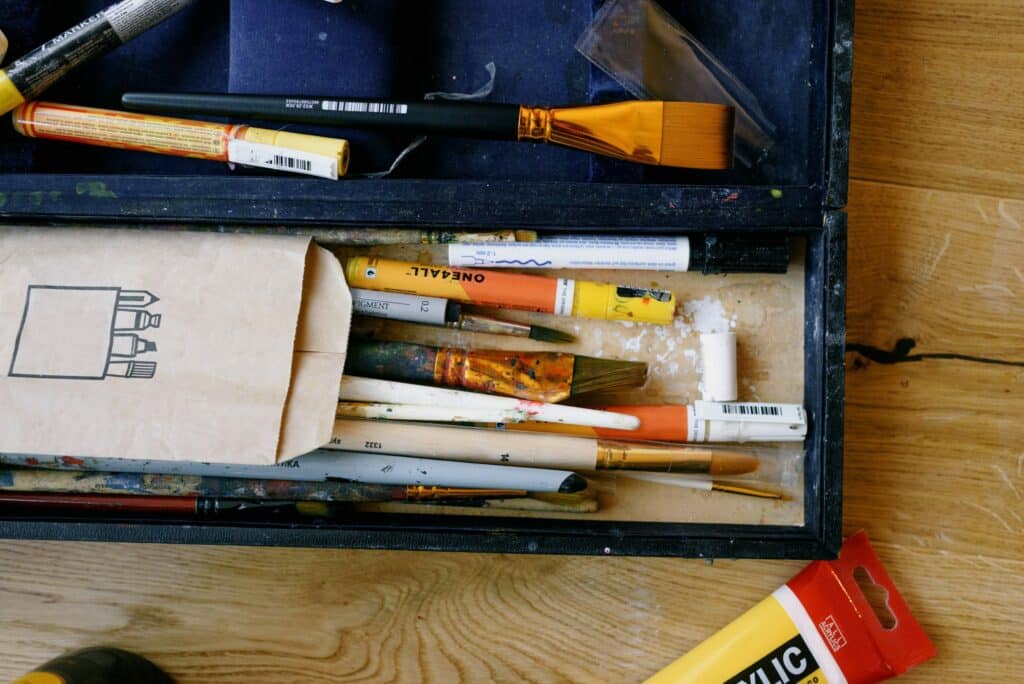
What You’ll Need:
Light scratches on hardwood floors can easily be repaired with a few common household items and some wood stain. When working with wood staining products, you want to wear protective gloves to prevent staining your hands, because these products are notoriously hard to remove from your skin.
Apply the wood staining product or marker with a rag or paper towel and rub it into the scratch. You want to pick a color that matches the floor or is a shade lighter. When using a marker, dip it onto a cloth first, the same goes for a wood stain product. Then gently rub the saturated part of the cloth onto the scratch for a soft, gradual coloring. This method allows you to gradually increase the intensity of the color with each pass of the cloth. Blend the color in with the surrounding wood finish. If you apply too much at once, like applying the marker straight onto the scratch, it can result in a color that is darker than the surrounding floor and can be hard to remove. For longer scratches, use two or more colors to achieve a better color match.
Only if you’re dead sure of the color result, you can apply the product straight onto the wood floor with a marker or a brush. Excess product should be wiped off straight away. You want to blend the scratch with the surrounding area before it dries.
Both staining methods require minimal effort but deliver awesome results!
Deep Scratches
What You’ll Need:
- Stainable wood filler
- Fine grit sandpaper
- Mineral spirits
- Lint-free cloth or paper towels
- Wood stain marker or wood stain product with paint brush
- Nitrile gloves
Step 1: Fill in Deep Scratches with Wood Filler
Begin by filling in deep scratches with wood filler. Use a putty knife to fill the scratch with stainable wood filler. Make sure the filling is slightly higher than the surrounding floor. Allow the filler to dry for 24 hours before proceeding, or according to manufacturer instructions.
Step 2: Level the Filler With Fine Grit Sandpaper
Once your wood filler has dried completely, you can sand down the filled-in scratch with fine grit sandpaper until it is level with the surrounding floor. This will create a smooth surface that you can stain afterwards. Use a clean cloth or paper towel dipped in mineral spirits to clean the general area.
Step 3: Stain The Area
To restore your hardwood floor to its original color, you want to stain the area where you filled in the scratches. You can do this with a wood stain marker or a wood stain product. Put on some protective gloves to prevent the wood stain from coloring your skin. It might be on there for weeks if you don’t. You want to apply the stain marker on a cloth or paper towel first and use this cloth or towel to color the scratch gradually. You’ll find it much easier to control the color.
If you use the paint marker directly on the scratch, the color can end up being too dark. Remember, you can always darken the color, but it’s very difficult to make it lighter!
You want to check if your wood stain is oil- or water based. Oil-based stains can be applied with a paint brush or a cloth, while water-based stains are best applied with a foam brush or a brush with synthetic bristles. Apply the product in thin layers and wipe off excess product. If the color is still too light after drying, you can always apply another layer. It’s important to know that some colors change slightly when dried. Some get lighter, some darken.
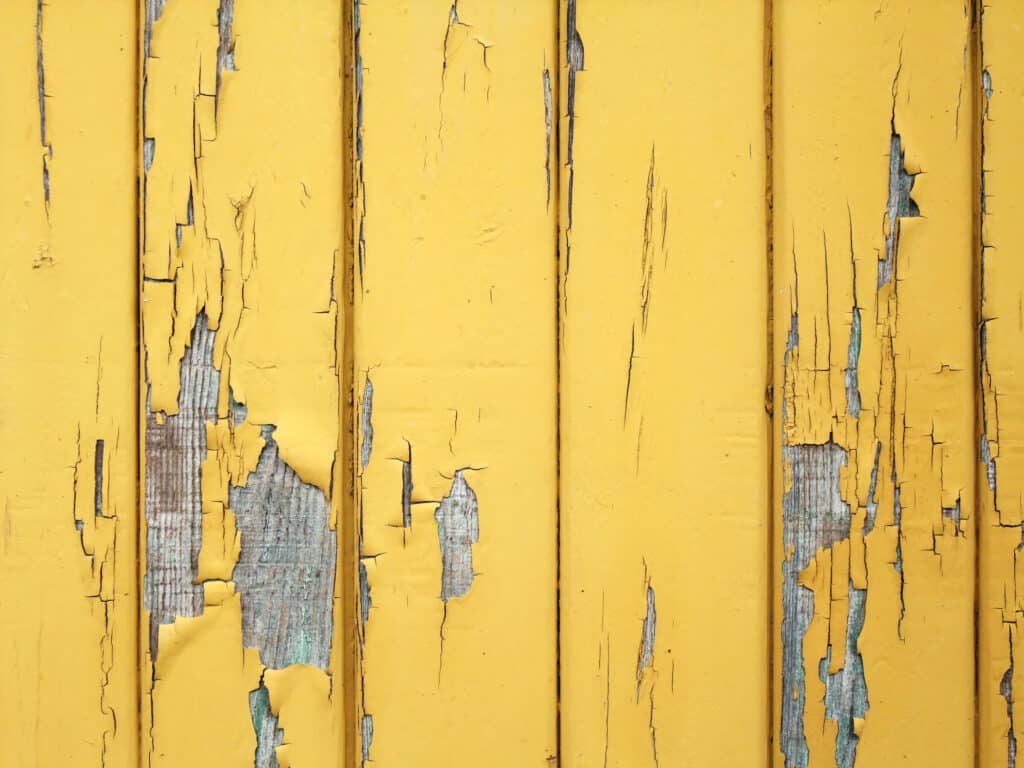
Extensive Damage
When your floor is covered in deep scratches, pits and chips, you might want to consider sanding and refinishing the entire floor. Depending on the type of hardwood floor, you can sand it multiple times throughout its life without problems. If the floor is beyond repair and even sanding won’t fix it, it’s best to replace the entire hardwood floor altogether. You want to contact a professional to discuss your options if you’re not familiar with this matter.
Now you know that you don’t need to panic anymore should you discover a fresh scratch on your beautiful hardwood floor, because most scratches can be fixed with basic tools and some elbow grease. By following these simple steps, anyone can make their hardwood floor look like new again in no time!
However, if your floor is badly scratched or damaged beyond repair, you might want to contact a professional to replace the entire hardwood floor instead of trying to fix it yourself.
Regardless, we’re convinced that this simple guide will help you keep your hardwood floors in pristine condition for years to come!

Editorial Staff at TwinRight is a team of experts helping its readers with product comparisons and convenient guides. Whether it's choosing the right floor cleaner, updating you on your favorite gadgets or helping you fix those annoying squeaky door hinges, we've got you covered!