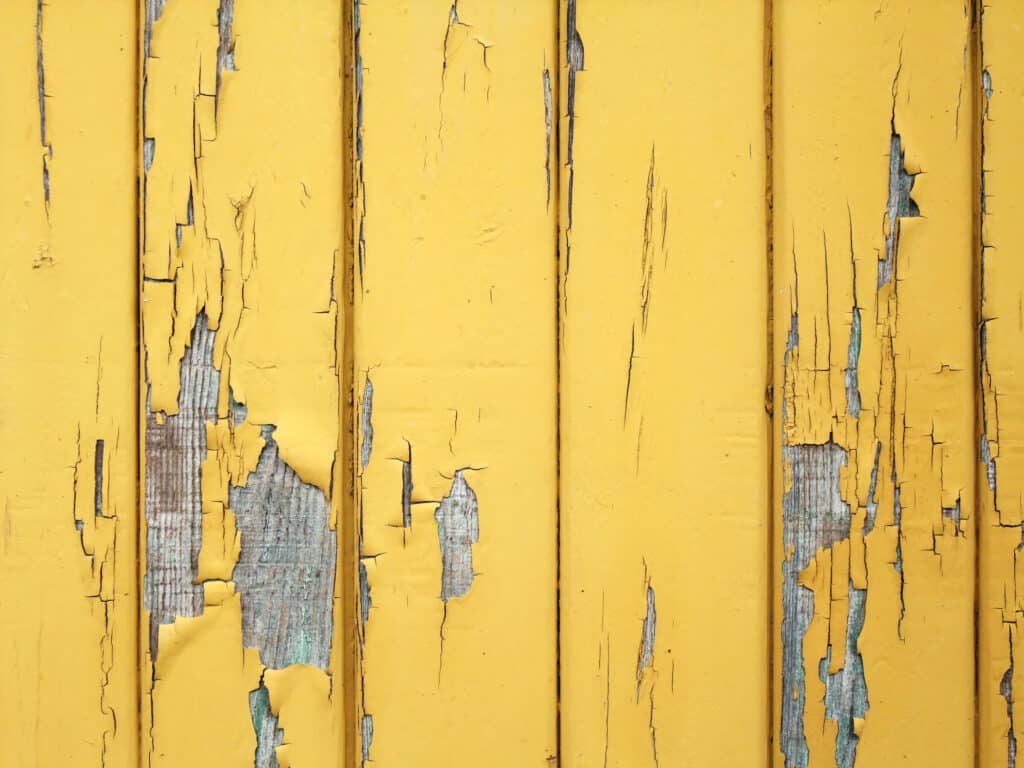
Are your beautiful wood floors buckling because of water damage and don’t know what to do? Don’t panic, we’ll guide you through the steps to fix your water damaged wood floors with ease and make them look like new again!
There’s nothing worse than finding out your beautiful wood floor has sustained water damage. But don’t worry, with the right tools and supplies you can restore your floors with ease! The good news is that repairing water damage isn’t difficult, the bad news is that it can be time-consuming. In this step-by-step guide, we will show you exactly how to repair water-damaged wood floors to make the process easier for you.
1) Remove Surface Water
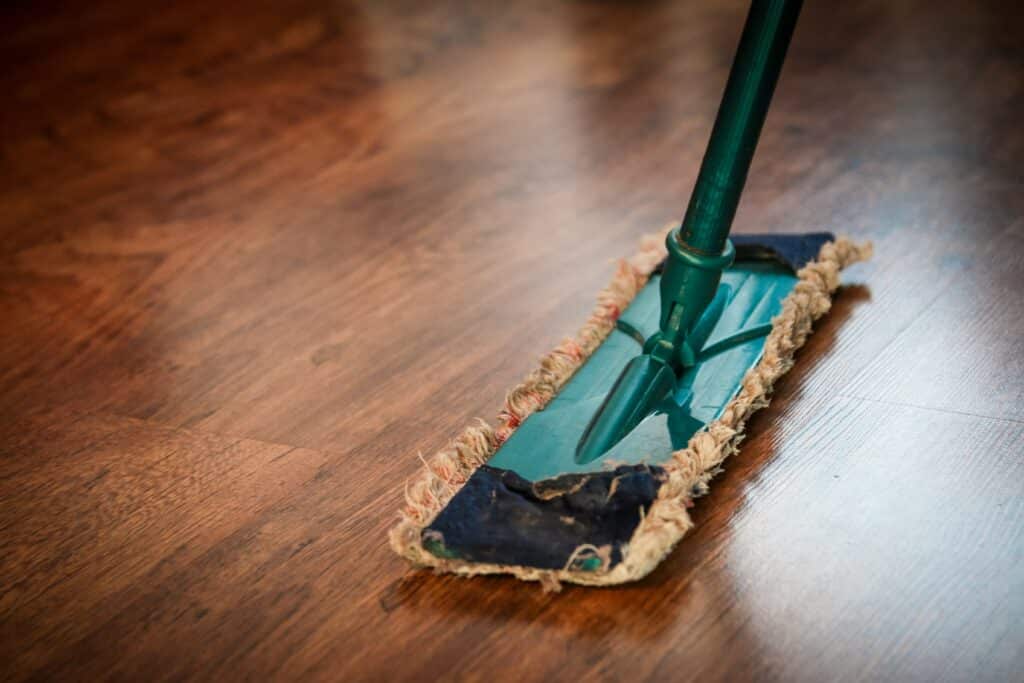
Start by removing any surface water. The fastest way to do this is with a wet vac or shop vac with a wide flooring attachment. If you don’t have one of those, make sure to mop up as much water as possible so the water damage doesn’t worsen while looking for the cause of the problem.
2) Find out What Caused the Issue
The most common cause of water damage to wood floors is some sort of flooding where a layer of water sits on top of the wood surface. If it sits on the wood for too long it can soak into the floor and cause damage. This flooding can be caused by a window that was left open during a storm, a broken washing machine or even a glass of water that was knocked over by your pet during the night.
However, it’s sometimes just a tiny leak that’s been dripping away unnoticed for months or even years from household appliances or a crack in the roof where rainwater seeps in. So the first step after cleaning up the surface water is to identify the source of the flooding or leak and make sure it’s fixed, otherwise you’ll have to repair your wood floor over and over again.
3) Asses the Damage
Once the surface area is dry and the cause of the flooding or leak is fixed, you need to dry out the entire floor. You want to dry the wood very slowly without using any form of heating on the wood. If the wood dries too fast it can buckle or crack. A good way to speed up the natural drying process is to place a ventilator or large fan in the room so there’s a steady flow of fresh air in the room. When the outside air is dryer than the inside air, open doors and windows so the humidity can escape.
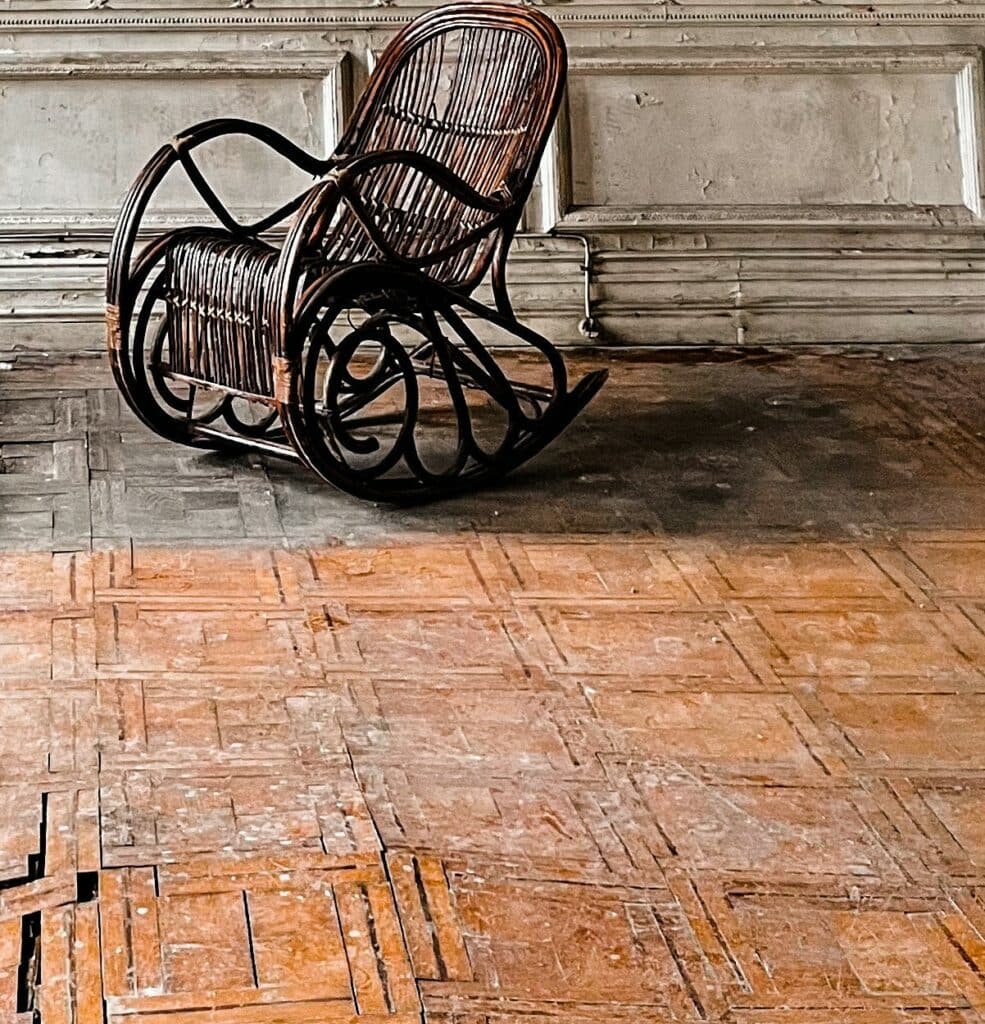
When the floor has dried out as much as possible over the course of a couple of days you’ll be able to assess the damage. If you’re really lucky, there’s no discoloration or damage and the wood planks will have returned to their original shape and size with no repairs needed. If it’s only some minor water damage or discoloration it will require some sanding and refinishing, while more severe cases may require replacing some of the boards or even the entire floor. Hardwood planks buckle in two different ways: cupping and crowning.
Cupping occurs when the bottom side of a wood plank expands more than its top, causing the board to “cup” or form a concave U-shape. This is caused by a difference in moisture levels between the top and bottom of the plank. In this case it indicates a higher moisture level under the boards. You might want to check the moisture level under your floor as this can indicate a structural problem. If you don’t fix this moisture problem under your hardwood floor, the boards will never stop cupping. Worst case it might even start rotting away from the bottom resulting in mold and an irreversibly damaged floor ready for the scrapyard.
Crowning on the other hand is an overall arch or convex shape across the top portion of a hardwood plank due to swelling at the top. This is caused by a higher moisture level on top of the wood. This can be due to flooding when water is absorbed at the top, but can also happen when the humidity in the room rises during summer.
Severe cases of cupping or crowning can loosen the nails which hold the boards down, forcing you to face nail it back in place or to replace the boards altogether.
4) Decide if You Should Repair or Replace the Wood Floor
Once you’ve assessed the damage, it’s time to decide if you should repair or replace the floor. If the damage is limited to a few small patches of discoloration on the surface or light cupping/buckling, then sanding and refinishing may be enough to restore your floor. However, if some boards are severely buckled, discolored or even damaged you might want to replace them.
5) How to Repair Water-Damaged Wood Floors
What you’ll need:
- Vacuum with wet mode
- Mop
- Scrub brush
- Bleach or Vinegar
- Fan
- Power sander
- Medium and fine grit sandpaper
- Wood stain (small area)
- Wood stain (large area)
- Polyurethane finish
Step 1: Clean the Floor
Once the excess water has been removed, you want to clean the floor. Use a mild detergent and warm water to break up dirt and grime before scrubbing away any discoloration or staining. Don’t make the floor soaking wet though, you don’t want to add to the moisture problem. By cleaning it first you will be able to discern actual damage from superficial dirt better.
Step 2: Treat Moldy Areas
If you find any moldy patches on the wood floor, you want to take extra care in treating them. Use cleaning vinegar or a mixture of water and bleach to kill off any existing mold before rinsing with clean water. Although you should normally keep bleach far away from your hardwood floors, in this case it might work better than vinegar. Bleach will lighten the color of the black mold and wood, facilitating it’s removal. And because we will sand and stain the area afterwards, the discoloration is not an issue here.
Be carefull to never mix or use vinegar and bleach together as this will create potentially lethal chlorine gas!
Remember, there is a chance that there is mold growing under the boards as well. Remove some of the boards to check if there is and make sure to treat these areas in the same way. Be sure to properly dry the area before moving onto the next step.
Step 3: Dry the Floor
Once the floor is clean and free of mold, you’ll need to make sure it’s completely dry before moving on to the next step. You want to dry the wood very slowly without using any form of heating on the wood. If the wood dries too fast it can buckle or crack. A good way to speed up the natural drying process is to place a ventilator or large fan in the room so there’s a steady flow of fresh air in the room. When the outside air is dryer than the inside air, open the doors and windows so that the humidity can escape.
Step 4: Sand the Floor
When the floor is completely dry and there is still some buckling visible, you can start sanding it to remove the light buckling and minor stains. Use a power sander and sandpaper with medium or coarse grit to remove any remaining buckling damage or discoloration. Make sure to sand in one direction for an even finish. After an initial pass with medium or coarse grit sandpaper, do a final pass with fine grit sandpaper. You can either only sand the affected area and try to match the original finish afterwards, or sand the entire floor to ensure an even color and finish when redoing this afterwards.
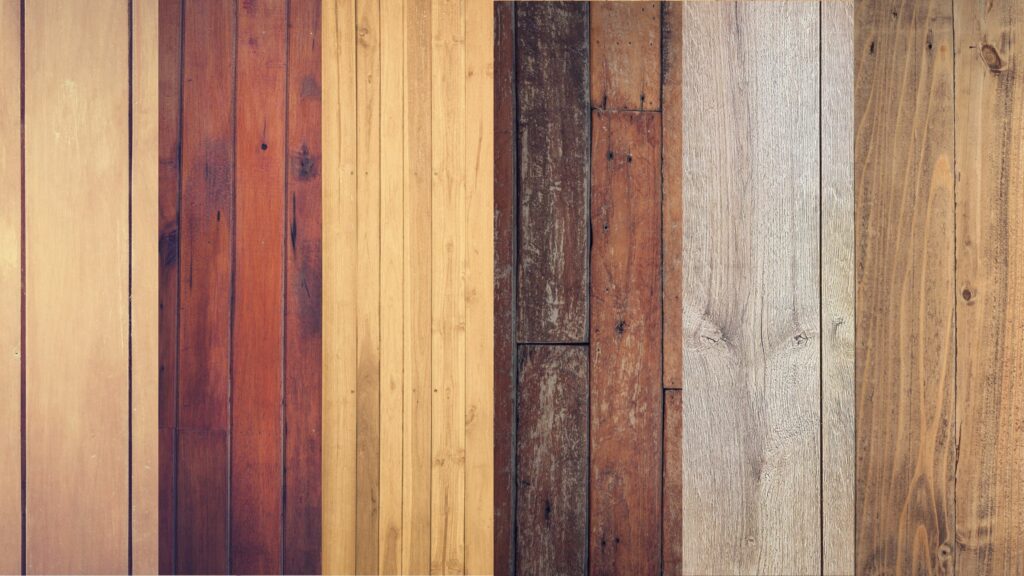
Step 5: Apply Stain and Finish to the Floor
Once the floor is sanded and all the dust removed, you’ll need to apply a stain and finish to restore the color and protect it. Use a wood stain that matches the original color of your floor. Apply an even coat and let the wood stain dry. You want to work with multiple thin coats when matching with the surrounding coat to prevent the color from being too dark. When it’s a small area, you can even apply the wood stain to a rag first and use this to gradually increase the color intensity with each pass. Remember, you can always apply another coat if the result isn’t dark enough, but it’s really difficult to make it lighter.
If you’ve sanded the entire floor, you can apply the product directly as you don’t have to worry about blending in with a previous finish.
Finally, you want to seal the floor with two layers of polyurethane finish to give the hardwood floor some extra protection and a nice shine.
Water damage can be a major issue for wood floors, but it’s not always necessary to replace it. In many cases, you can even repair it yourself! With the right steps and precautions, you will have your floors looking like new in no time. By following this guide, you’ll have all the knowledge necessary to successfully repair your beloved, water-damaged wood floors and make them look like new again.

Editorial Staff at TwinRight is a team of experts helping its readers with product comparisons and convenient guides. Whether it's choosing the right floor cleaner, updating you on your favorite gadgets or helping you fix those annoying squeaky door hinges, we've got you covered!