In this guide we’ll show you how to fill up those unsightly gaps that appeared over time in your beautiful hardwood floor.
If you have hardwood floors in your home, you’ve probably already noticed that gaps can appear over time. These gaps can be unsightly and potentially damaging if you just leave it that way. Fortunately, filling in these gaps is relatively simple with the right tools and materials at hand. Check out our easy step-by-step guide and learn how to fill them.
When should you fill wood flooring gaps?
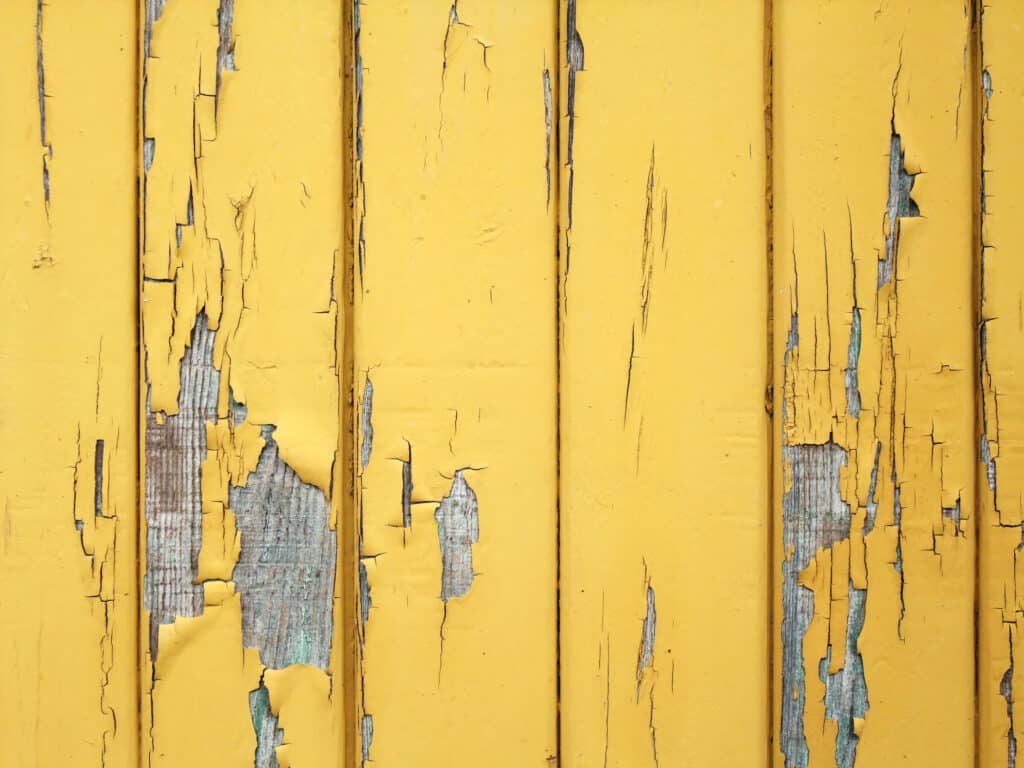
As a homeowner, you may notice flooring gaps between your hardwood or engineered wood planks. These gaps are most commonly caused by seasonal humidity changes. During the colder months, the air inside your home is drier which causes wood to shrink, creating gaps. Similarly, in the warmer months, higher humidity levels cause wood to expand, closing those gaps.
Try to reduce these swings in moisture during the year and keep the humidity levels between 40 and 50 percent. During summer you can achieve this with an air conditioner to draw moisture out of the air and during winter you’ll need a humidifier.
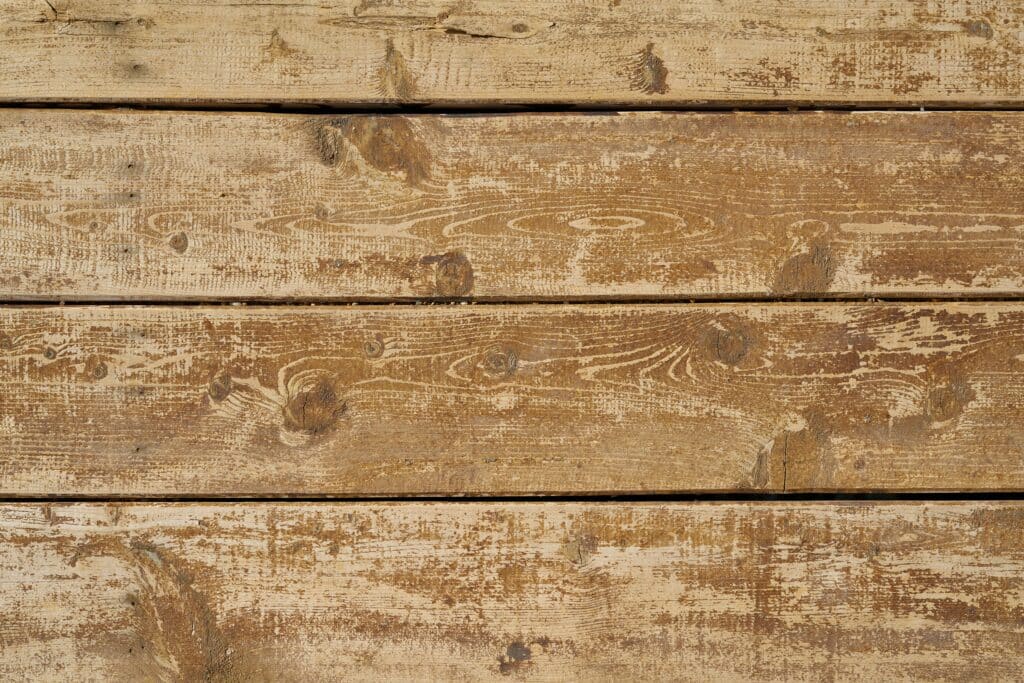
However, if you notice significantly wide gaps or gaps that persist even during normal humidity levels, it may be time to fill them. Filling flooring gaps not only improves the aesthetics of your floors but also helps prevent damage to the flooring itself when gaps become very large. With proper filling techniques and materials, you can maintain the longevity and beauty of your floors.
Products & Tools Needed:
Before beginning the job, make sure you have all the necessary supplies at hand:
- Wood filler
- Putty knife
- Cloth
- Vacuum cleaner
- Wood stain (optional)
- Clear coat wood finish (optional)
- Brush (optional)
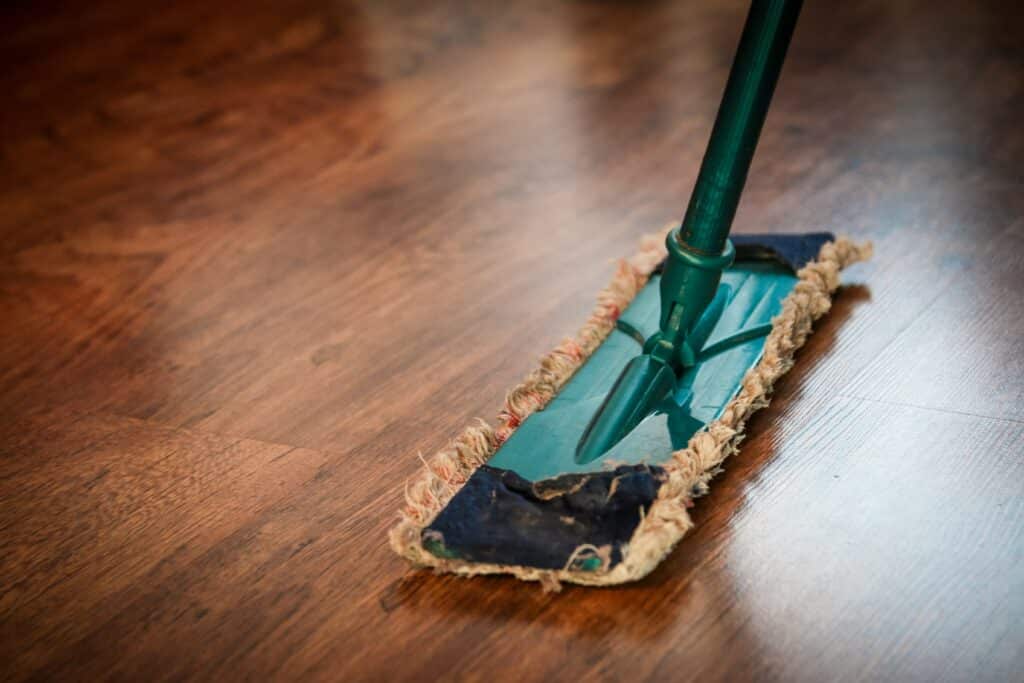
Step 1: Clean the Area
The first step is to thoroughly clean the area where you’ll be applying the wood filler. Vacuum the gap and the area around it and use a damp cloth to wipe down any debris or dirt that may have accumulated between the planks of wood flooring.
Step 2: Apply the Filler
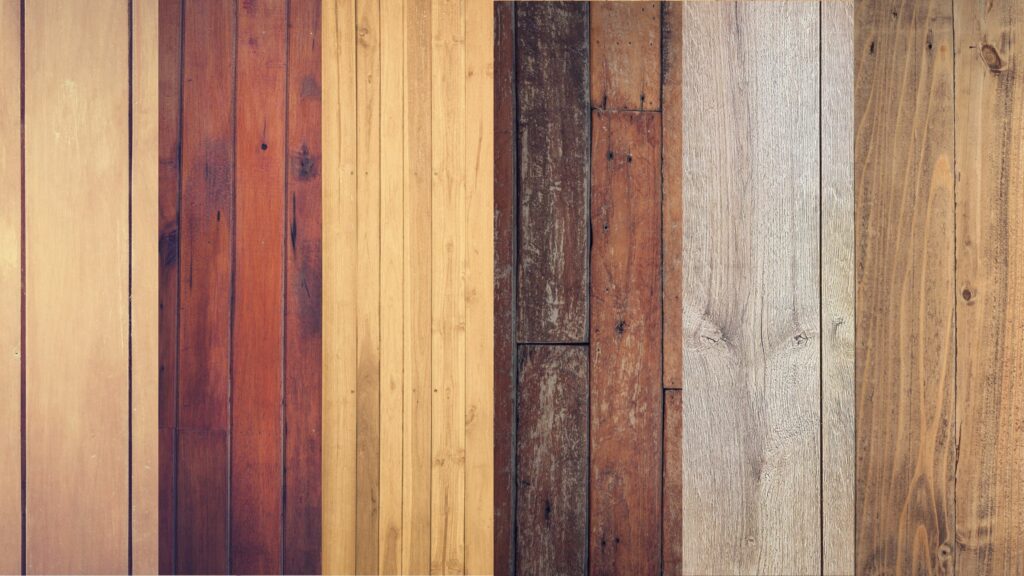
Once the area is clean and dry, apply the wood filler evenly across all of the gaps. Try to choose a filler that matches the color of your wood floor as closely as possible. Use a putty knife to spread it out evenly and make sure all of the cracks are filled completely. Be sure not to overfill, too much filler can cause problems later on.
Step 3: Let it Dry
Let the putty dry for 24 hours before proceeding to step four. Make sure no pets or children are running around when it’s drying. They could possibly step into the wet filler, causing an uneven surface once it dries.
Step 4: Clean the Surface
Once it has dried out for 24 hours, take a damp cloth and lightly wipe off any excess fill on the surrounding wood. This will help create a clean and even surface and will make it easier to apply the wood stain or finish later on.
Step 5: Stain the Filler (Optional)
After the filler has been applied and cleaned, you can choose to stain it to better match the color of your wood flooring. This is recommended if there is a significant difference in shade between the wood planks and the filler. Be sure to use a stain that is designed specifically for wood floors, as this will ensure that it won’t damage the wood.
Step 6: Apply Finish (Optional)
Apply a clear wood finish with a brush to the filled gaps. This will help protect these newly filled gaps in your floor from further wear and tear as well as preserve their beauty for years to come. Always follow the manufacturer’s instructions for detailed instructions on the application and dry time.
Filling gaps between planks of your wood flooring is an easy task if done correctly with some patience and care! With just a few simple steps you can easily fill those pesky gaps without having to hire expensive professionals or buy new flooring entirely!
So why wait? Get started today!

Editorial Staff at TwinRight is a team of experts helping its readers with product comparisons and convenient guides. Whether it's choosing the right floor cleaner, updating you on your favorite gadgets or helping you fix those annoying squeaky door hinges, we've got you covered!